Raspberry Pi - Take screenshots of Minecraft
If you going to take a screenshot of Minecraft: Pi edition (or anything else for that matter), I really like a command line utility called raspi2png, its simple and screenshots images which have been created using the GPU (like games) as well.
Download Open a terminal and clone the repository from github:
cd ~
git clone https://github.com/AndrewFromMelbourne/raspi2png
Use Change directory to raspi2png and run the program’s help to show all the options:
cd ~/raspi2png
./raspi2png --help
Usage: raspi2png [--pngname name] [--width ] [--height ] [--compression ]
[--delay ] [--display ] [--stdout] [--help]

    --pngname,-p - name of png file to create (default is snapshot.png)
    --height,-h - image height (default is screen height)
    --width,-w - image width (default is screen width)
    --compression,-c - PNG compression level (0 - 9)
    --delay,-d - delay in seconds (default 0)
    --display,-D - Raspberry Pi display number (default 0)
    --stdout,-s - write file to stdout
    --help,-H - print this usage information
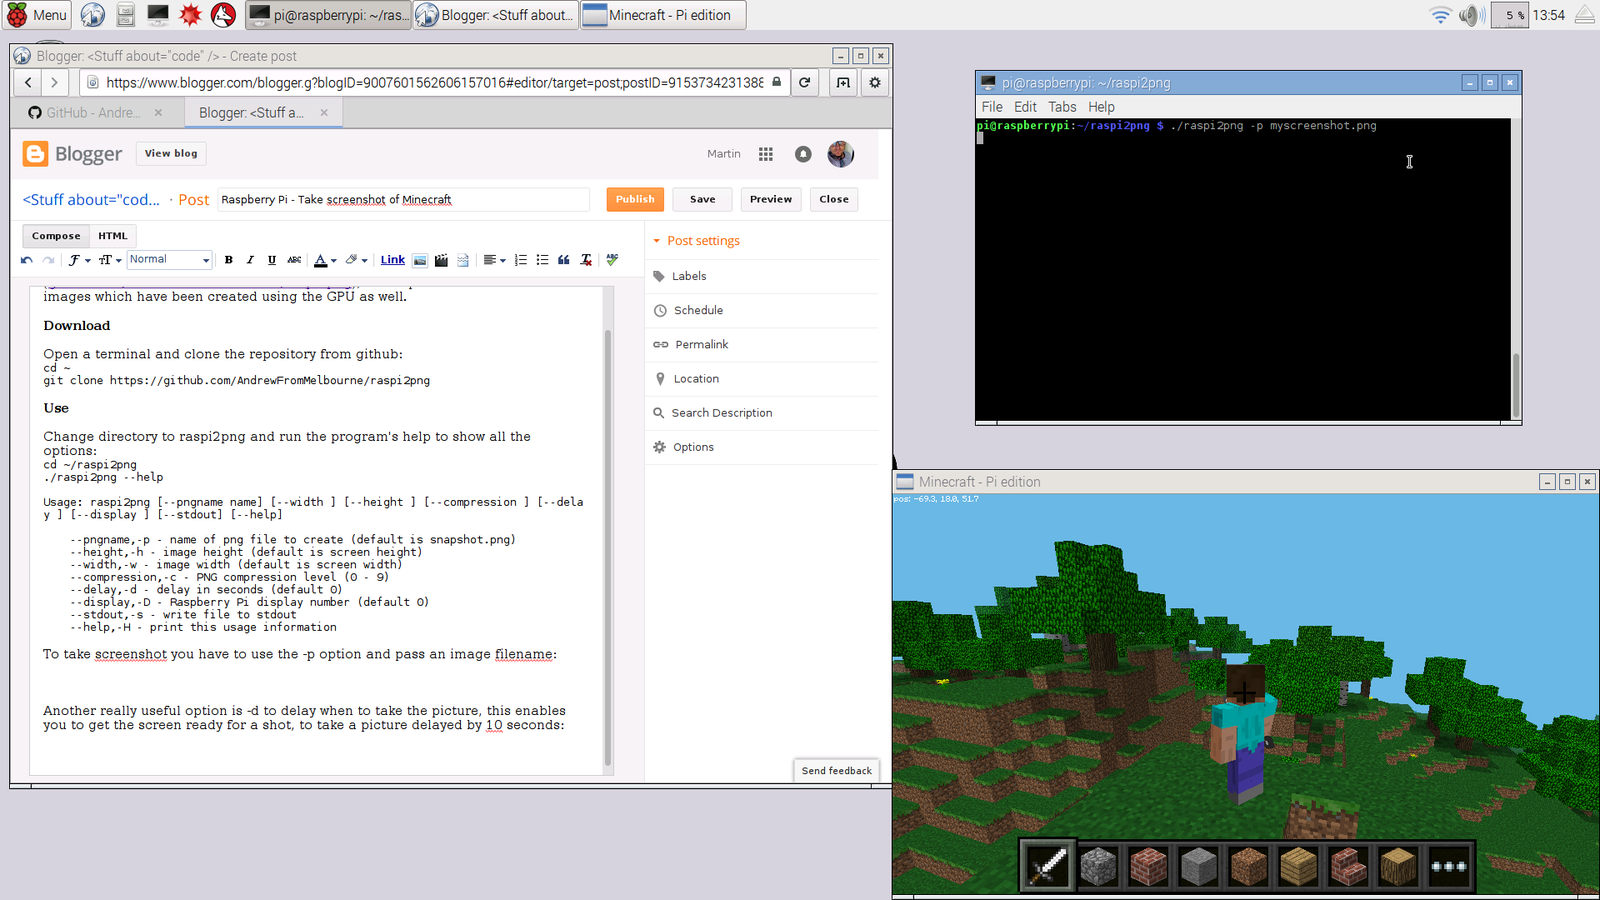
To take screenshot you have to use the -p option and pass an image filename:
./raspi2png -p myscreenshot.png
Another really useful option is -d to delay when to take the picture, this enables you to get the screen ready for a shot - to take a picture delayed by 10 seconds:
./raspi2png -p mydelayedshot.png -d 10
The image files will be created in the ~/raspi2png directory - if you want them in a different directory use a full path:
./raspi2png -p /home/pi/mydir/myscreenshot.png
If you use a filename which already exists raspi2png will overwrite the file without warning and the old image will be lost.
Fyi - I wrote this blog post using a Raspberry Pi 3… First time I’ve used a Pi to write about a Pi - thats progress!