Pocket PiGRRL - Battery Monitor
I recently made myself an Adafruit Pocket PiGRRL and I wanted to modify it so it would warn me when the battery was running low - there is a small red LED but its hidden inside the case!
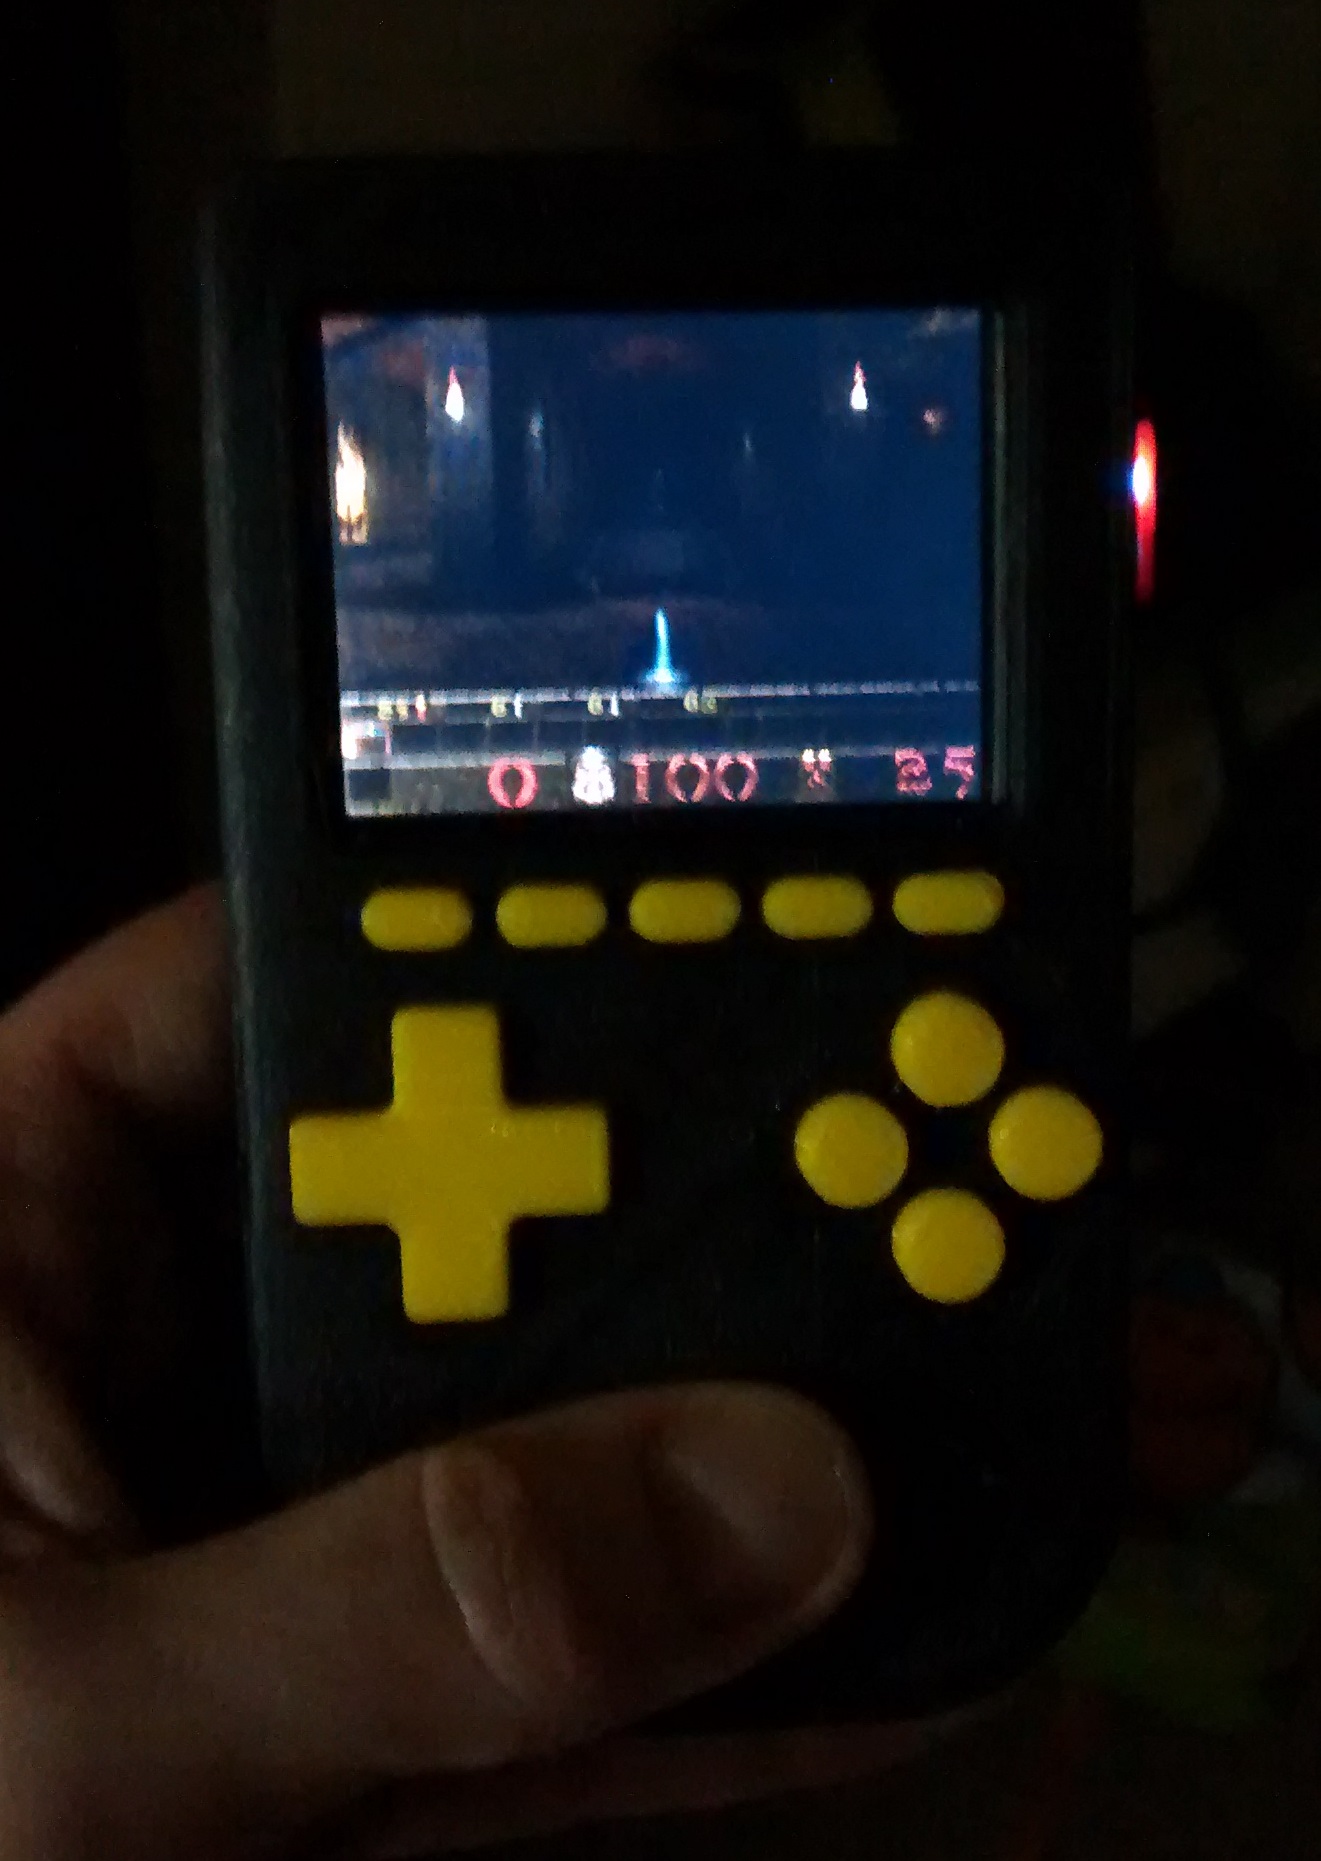
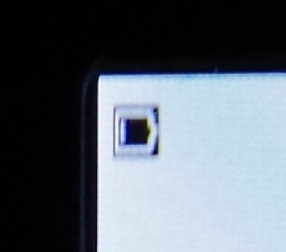
The plan was to create a program which would sense the battery getting low and put a warning icon on the top left of screen giving me time to shutdown the Pi properly or plug it in.
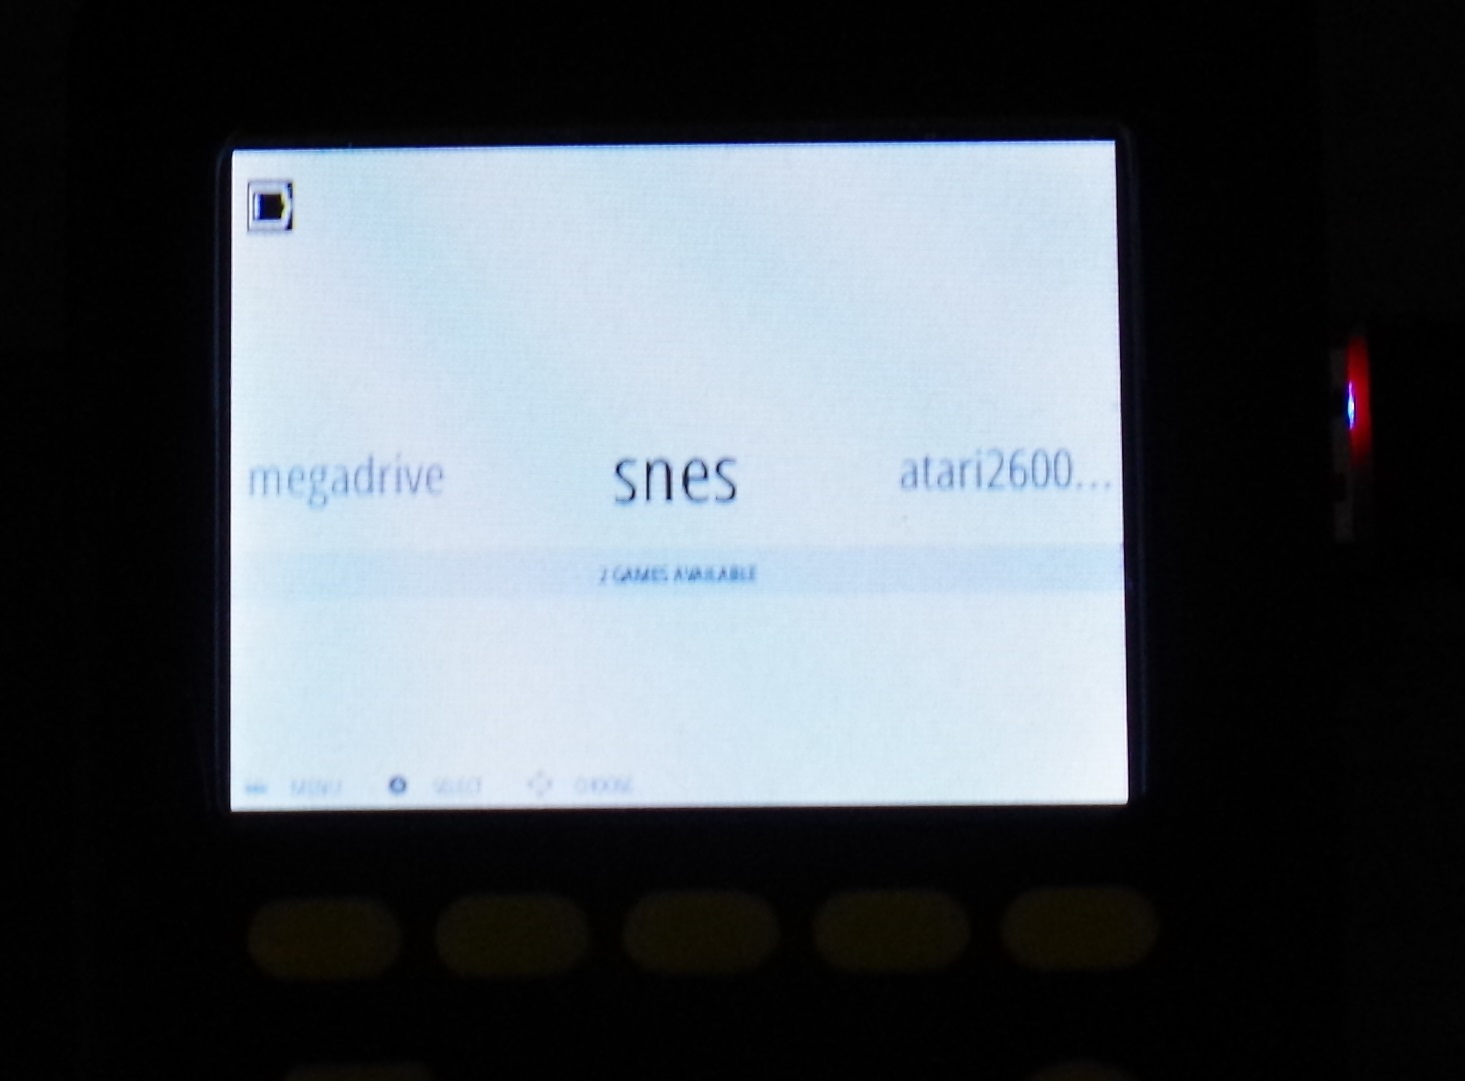
TLDR - just scroll down to install Grrl Battery Monitor.
I started with the software as I, foolishly, thought this would be the hardest part, the problem with creating an icon is that is has to go over the top of everything regardless of what is on the screen (command prompt, emulators, emulation station, everything) or what hardware was rendering it.
My first plan was that I could use Picamera’s overlay function which I knew used the GPU to output directly to the screen, and with a bit of help from Dave Jones who put together a prototype, it was looking good, but while the icon appeared on top of emulators and the command prompt, it didnt write over emulation station.
I came across Low Level Graphics on Raspberry Pi which walks you through writing graphics directly to the Linux framebuffer using C, this was a lot lower level than I hoped to get into but it would definitely write my icon over anything that was on the screen - using this I wrote a program to create an icon on the screen when a GPIO pin was triggered.
Next I needed to be able to read from the power booster when the battery was running low, my original plan was to use the LBO (low battery output) pin, but this proved to be way more difficult than I expected, read this post on Adafruit’s forum if your really interested.
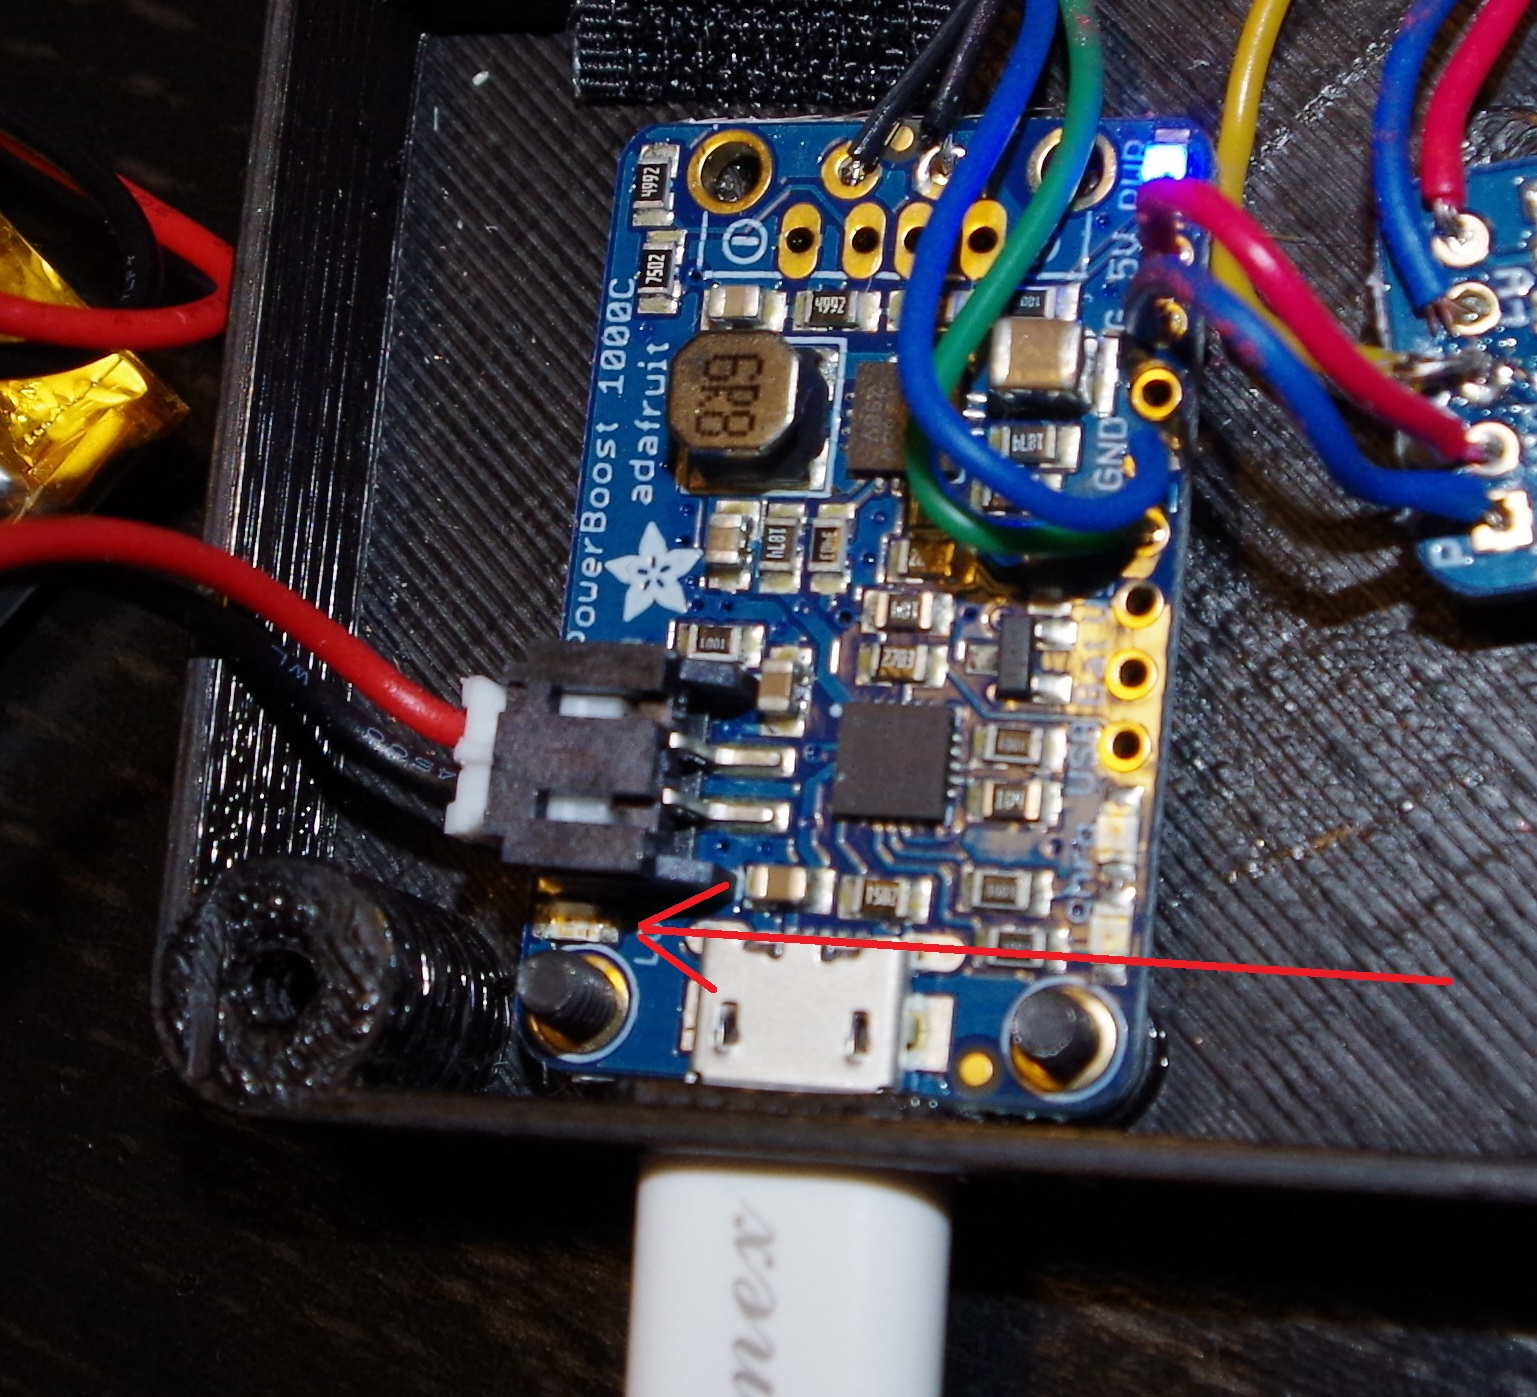
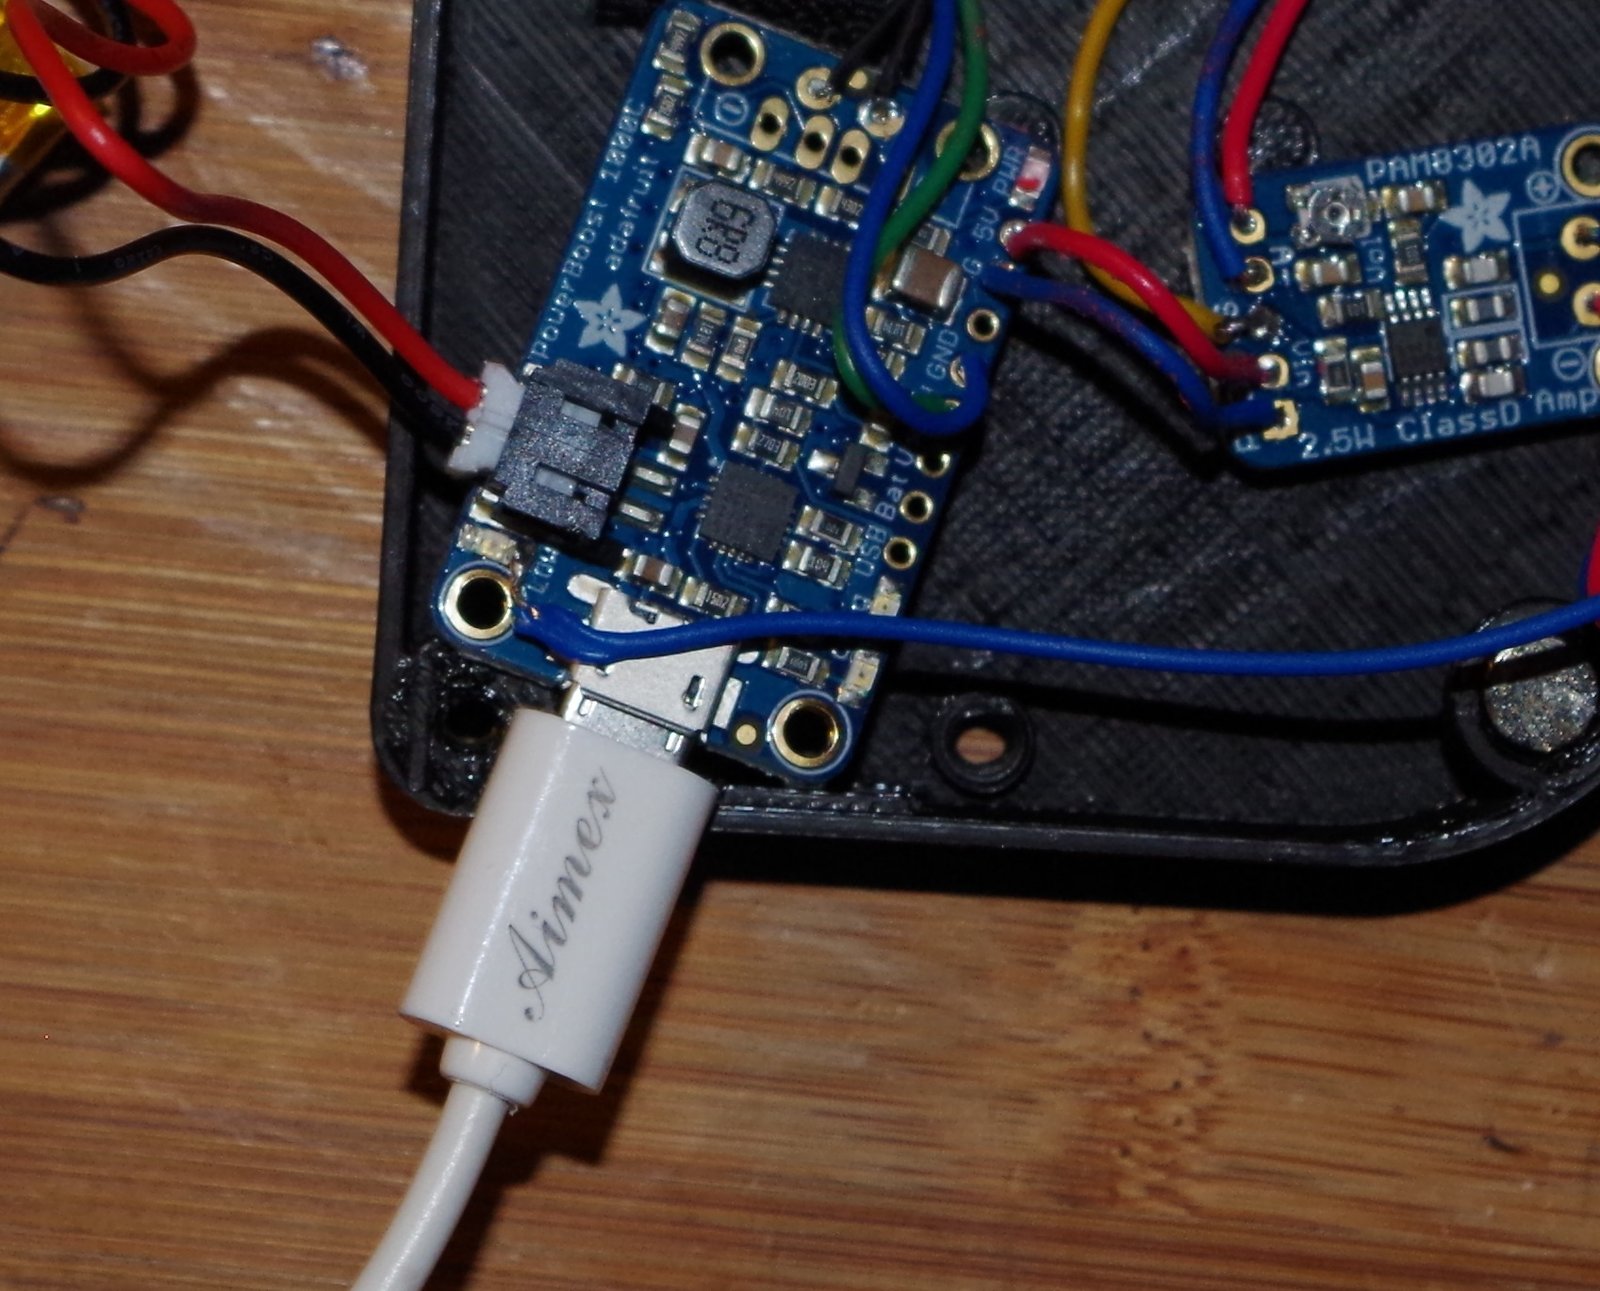
I ended up connecting a wire to the low battery warning led (red) on the power booster and using this to switch a transistor which connected a GPIO to ground.
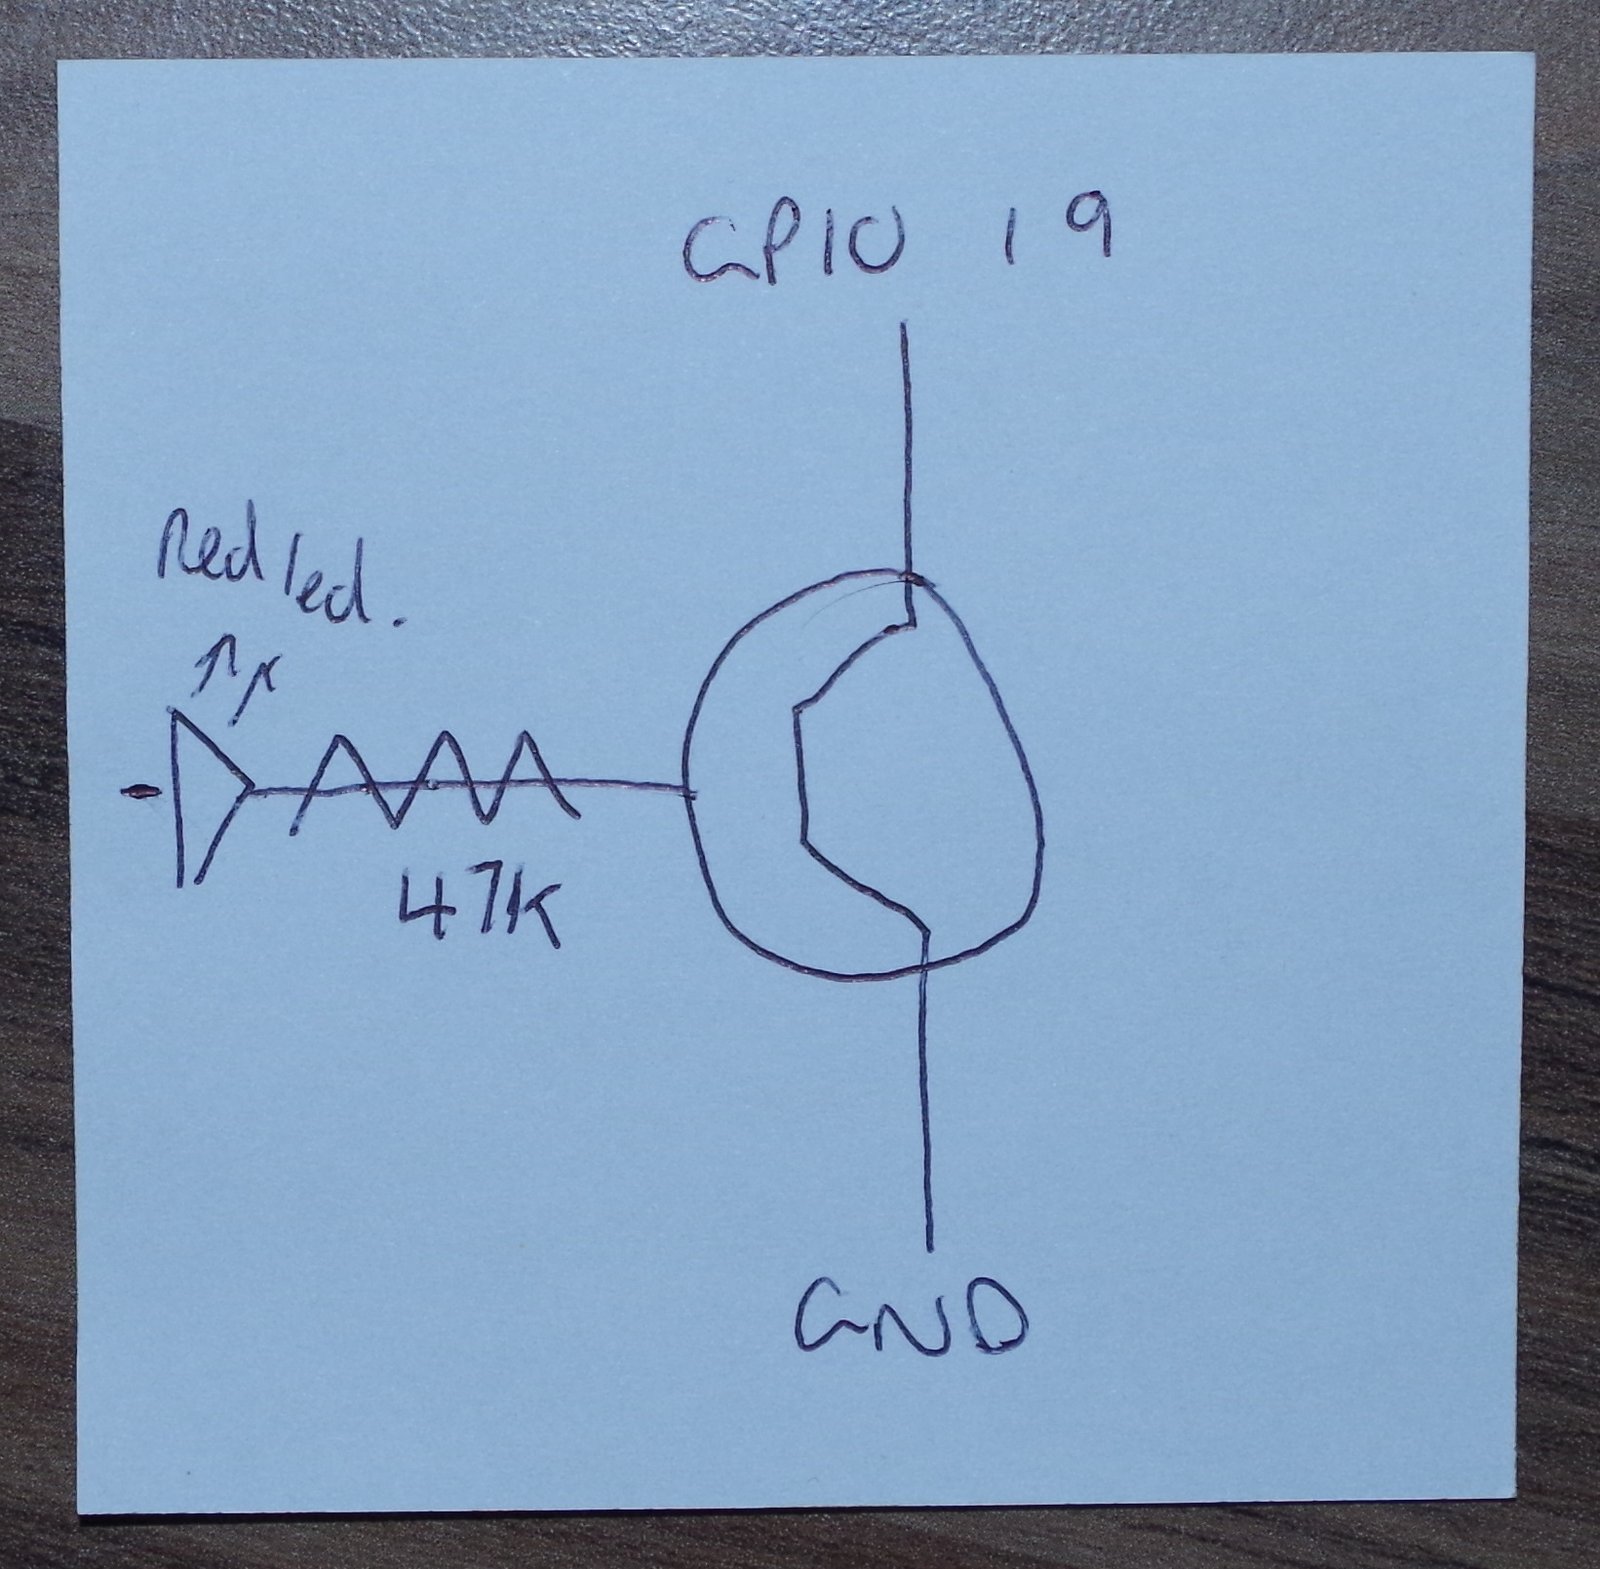
Its been frustrating but I am really pleased with how it worked out - if you want to add the batter monitor to your own Pocket PiGRRL follow the instructions below.
Install Grrl Battery Monitor
You will need a few parts:
- Some wire
- 2N3904 NPN transistor
- 47k resistor
- Strip board
Note - if you are doing this on a PiGRRL 2 with a Pi 3, be sure to check out Christian’s comments about the pin to use and wiring-pi install before starting.
- Open up your Pi GRRL and connect a small length of wire to the red (low power) led on the power booster.
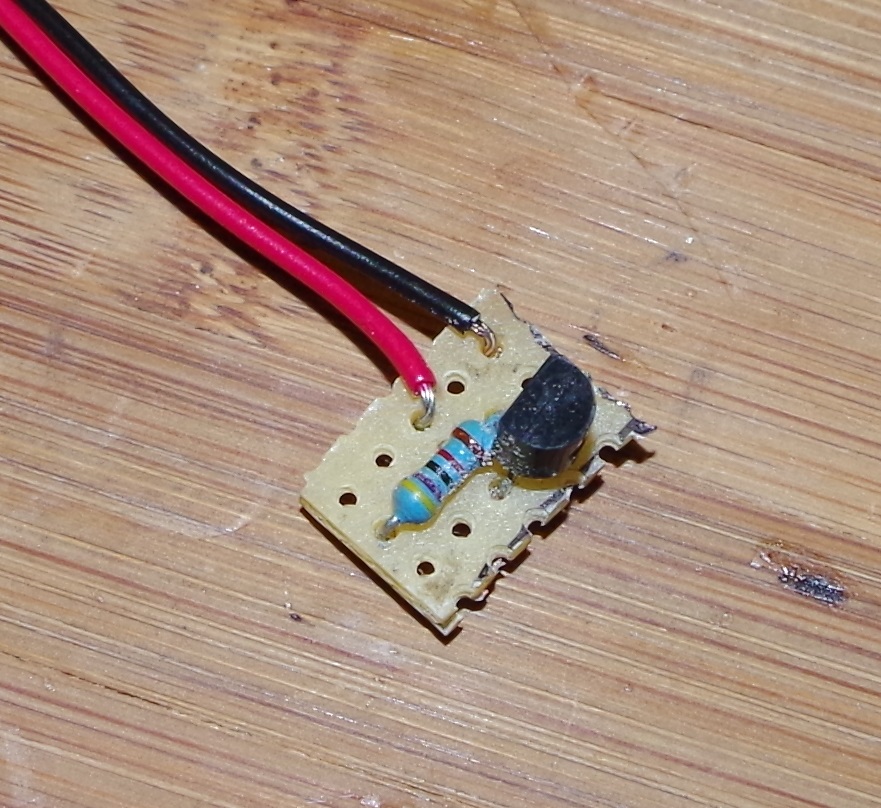
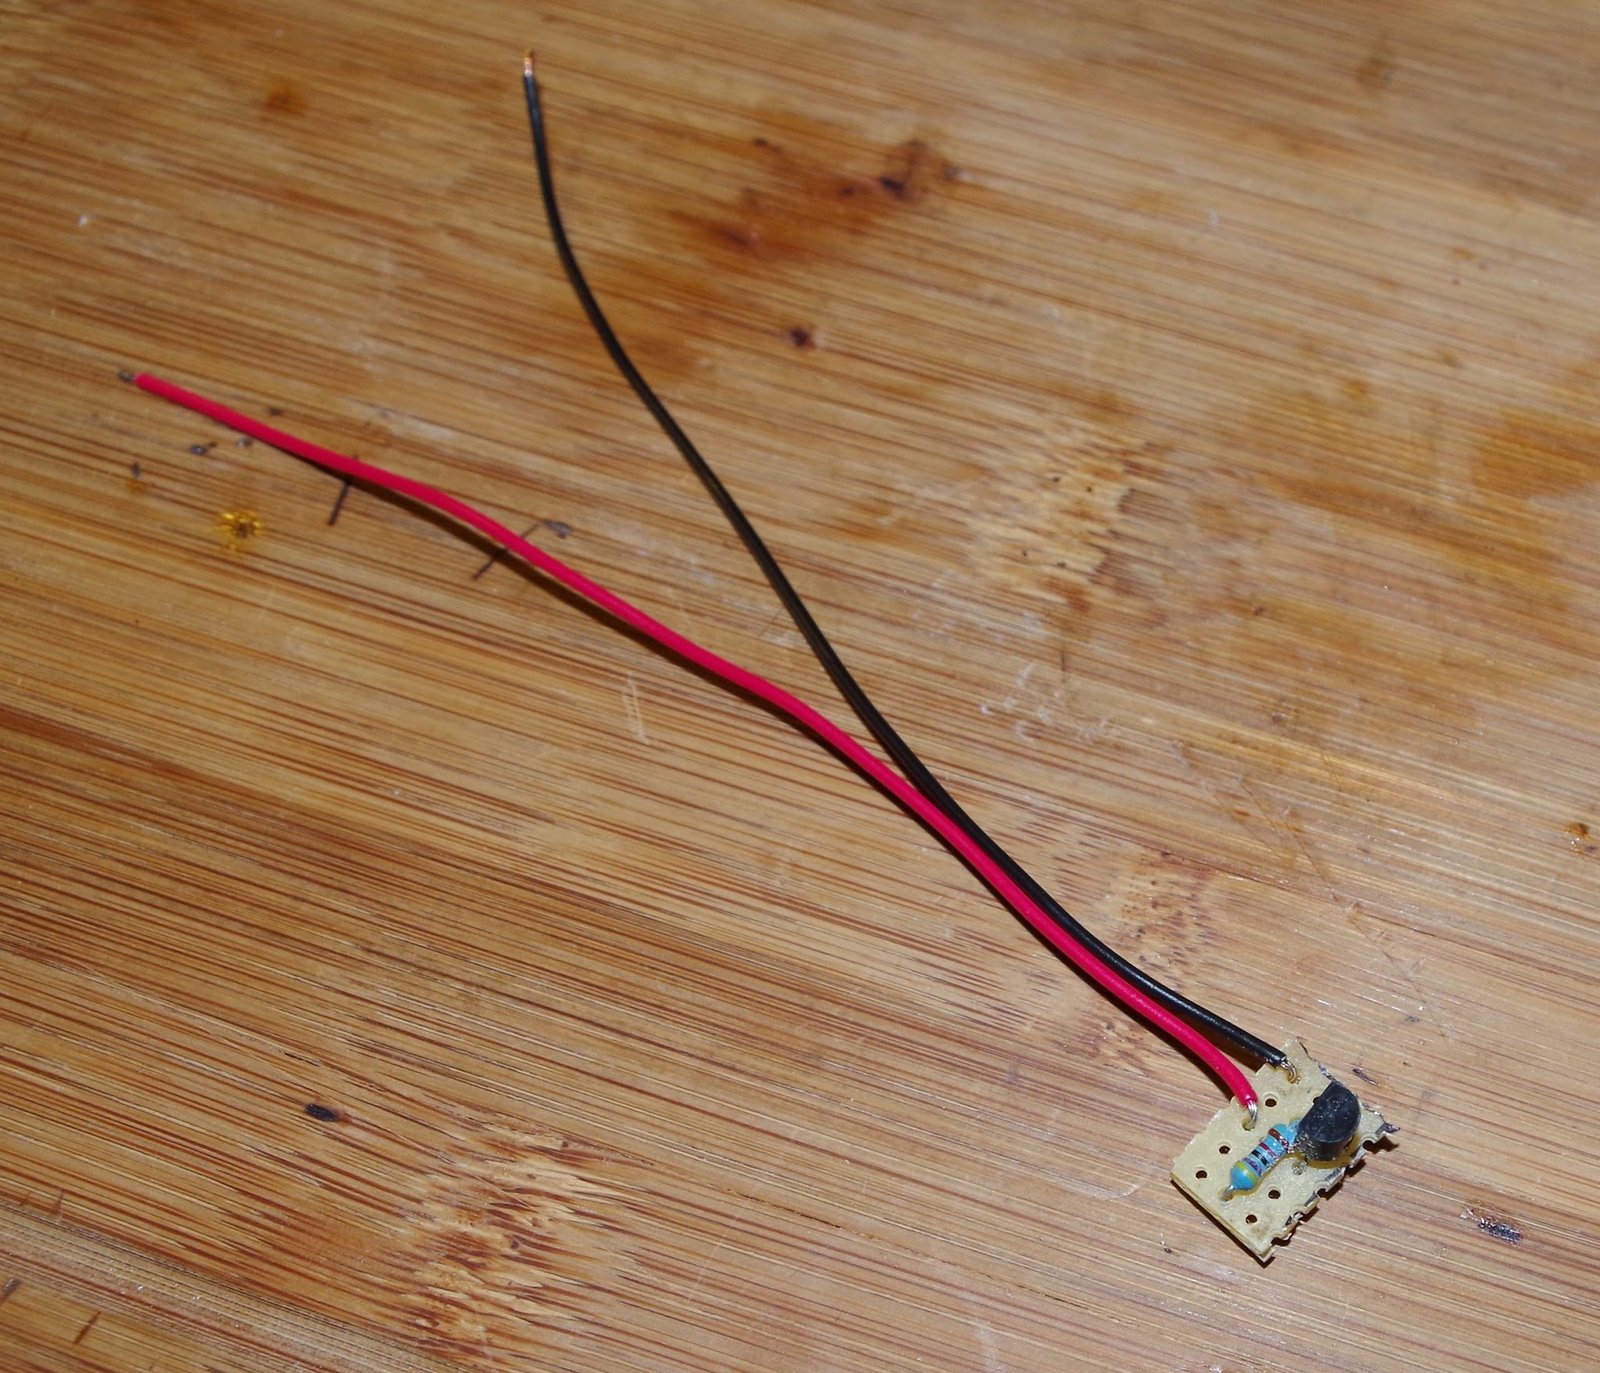
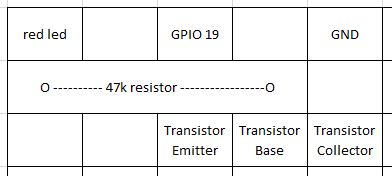
- Solder the components to the strip board. including 2 lengths of wire which will connect to GPIO 19 and GND.
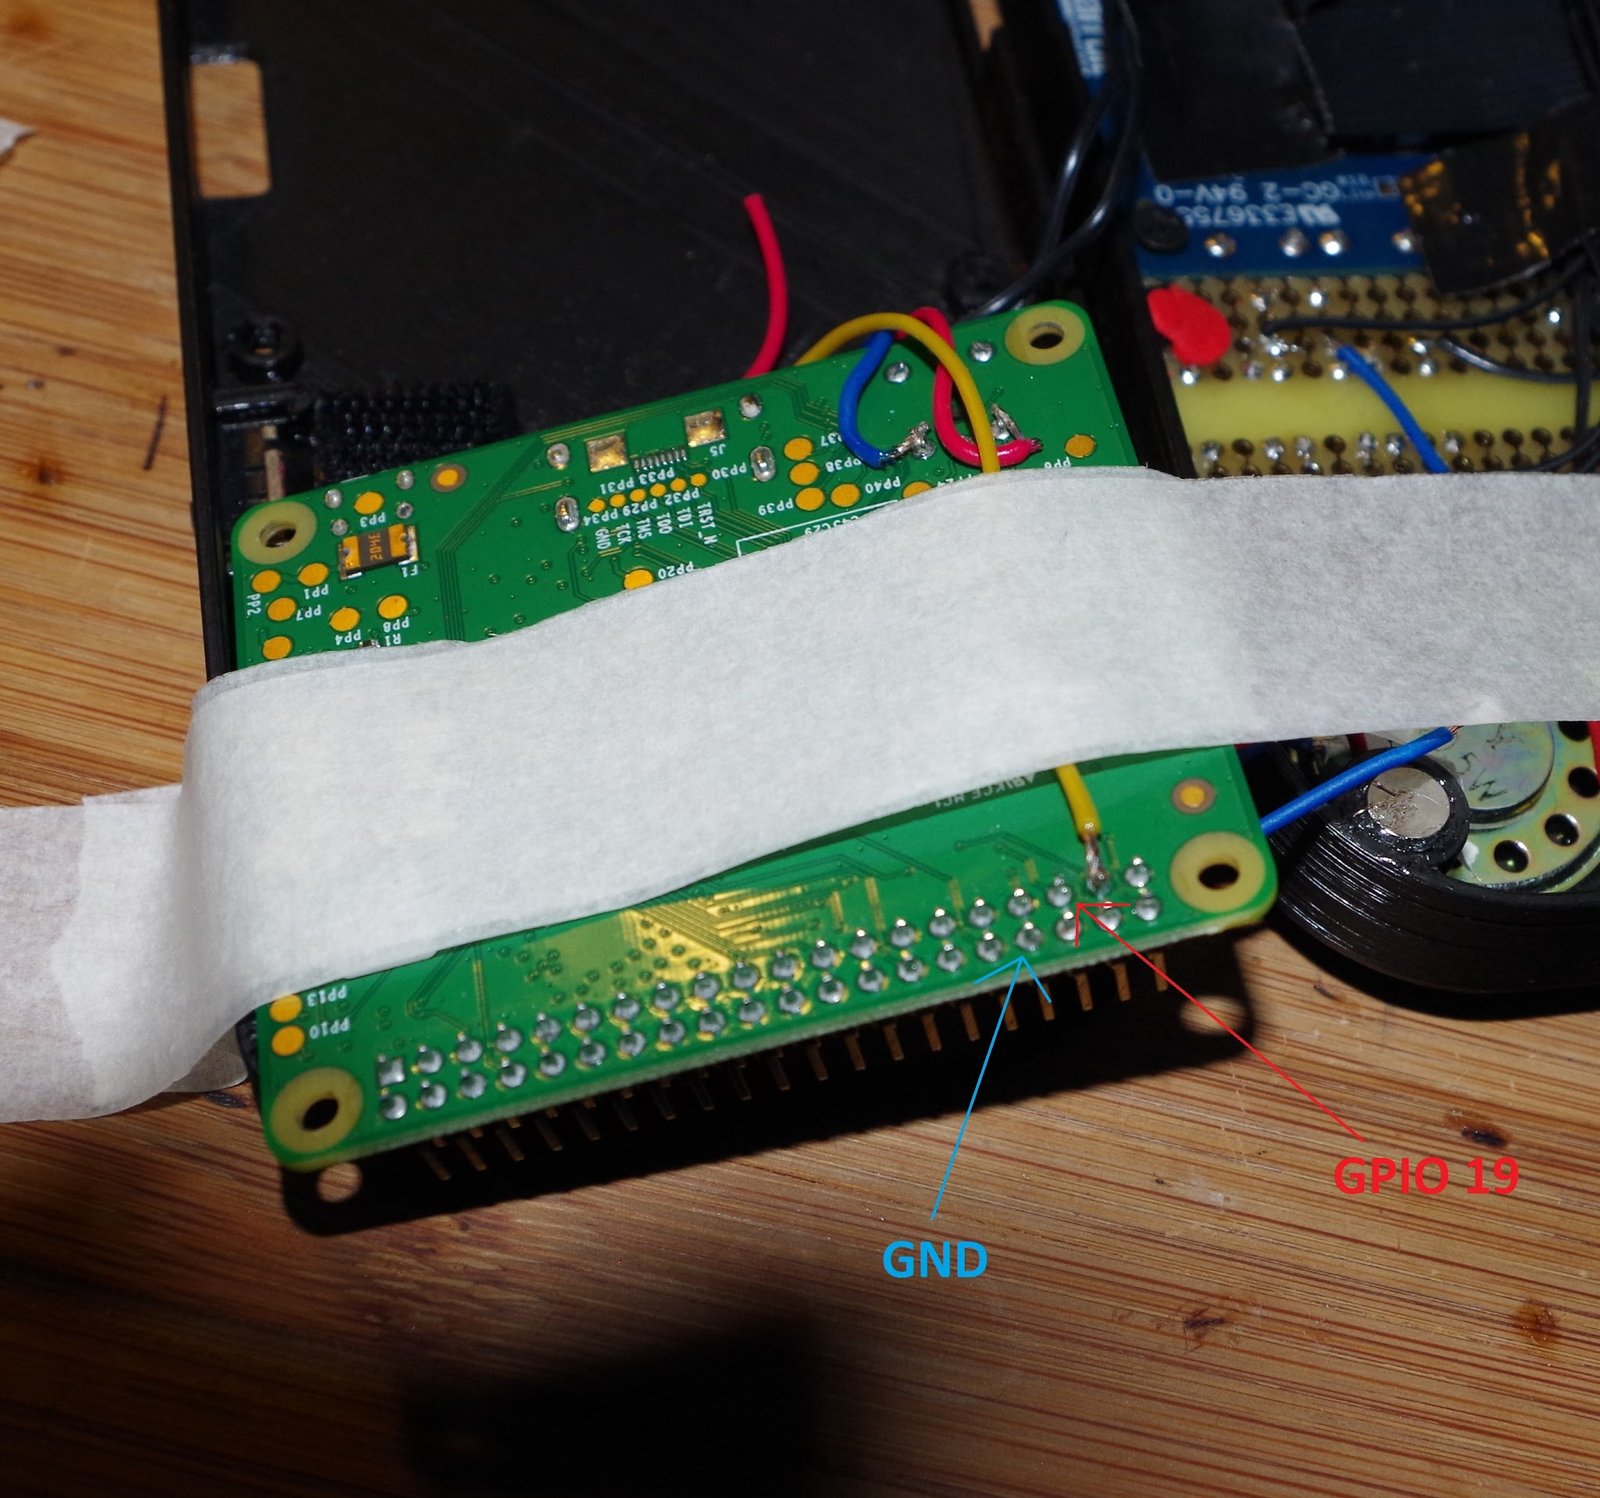
- Flip over your Pi and solder the GPIO and GND wires to the underside of the Pi’s GPIO header.
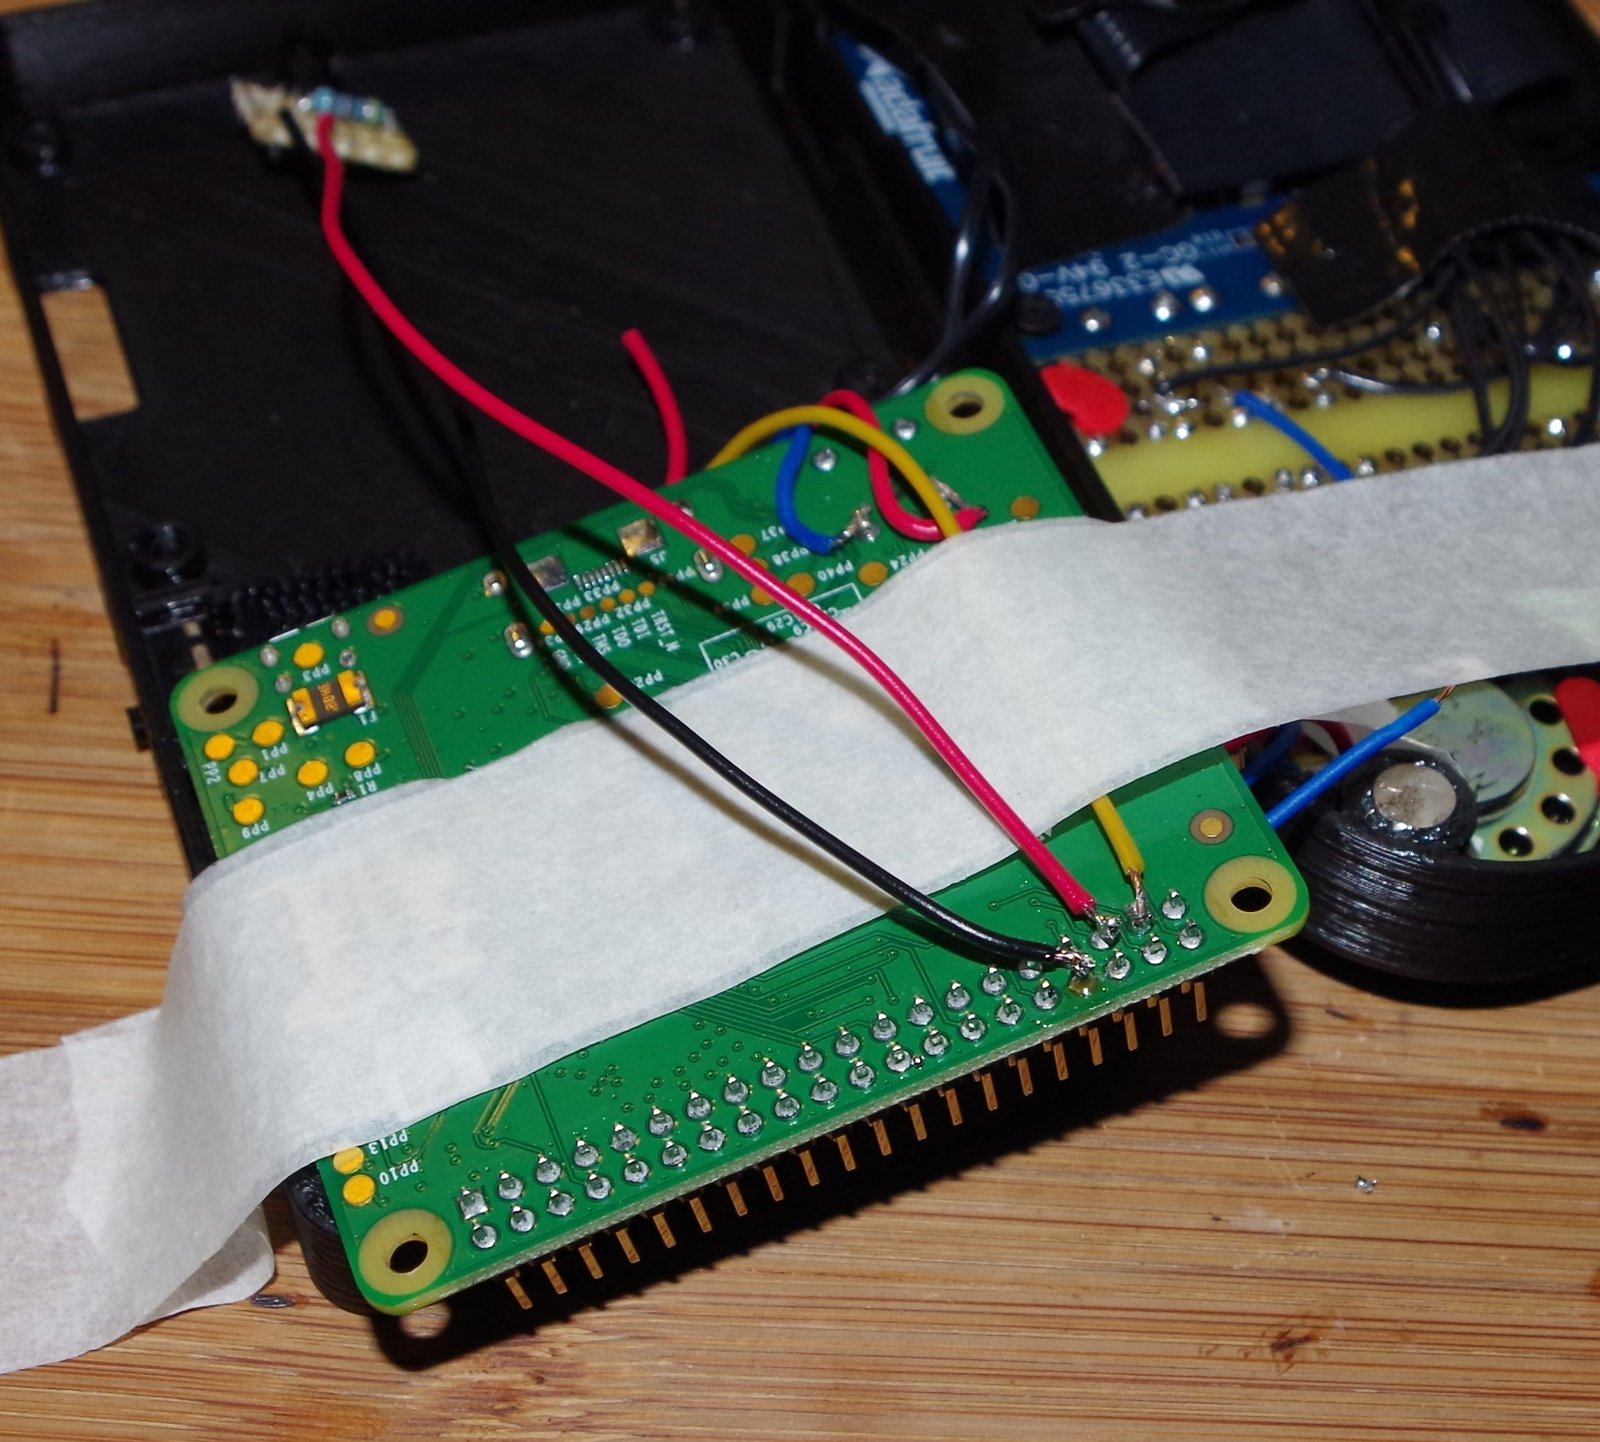
The yellow wire is for my mute / un-mute amp function.
4, Solder the wire from the low power (red) led to the strip board.
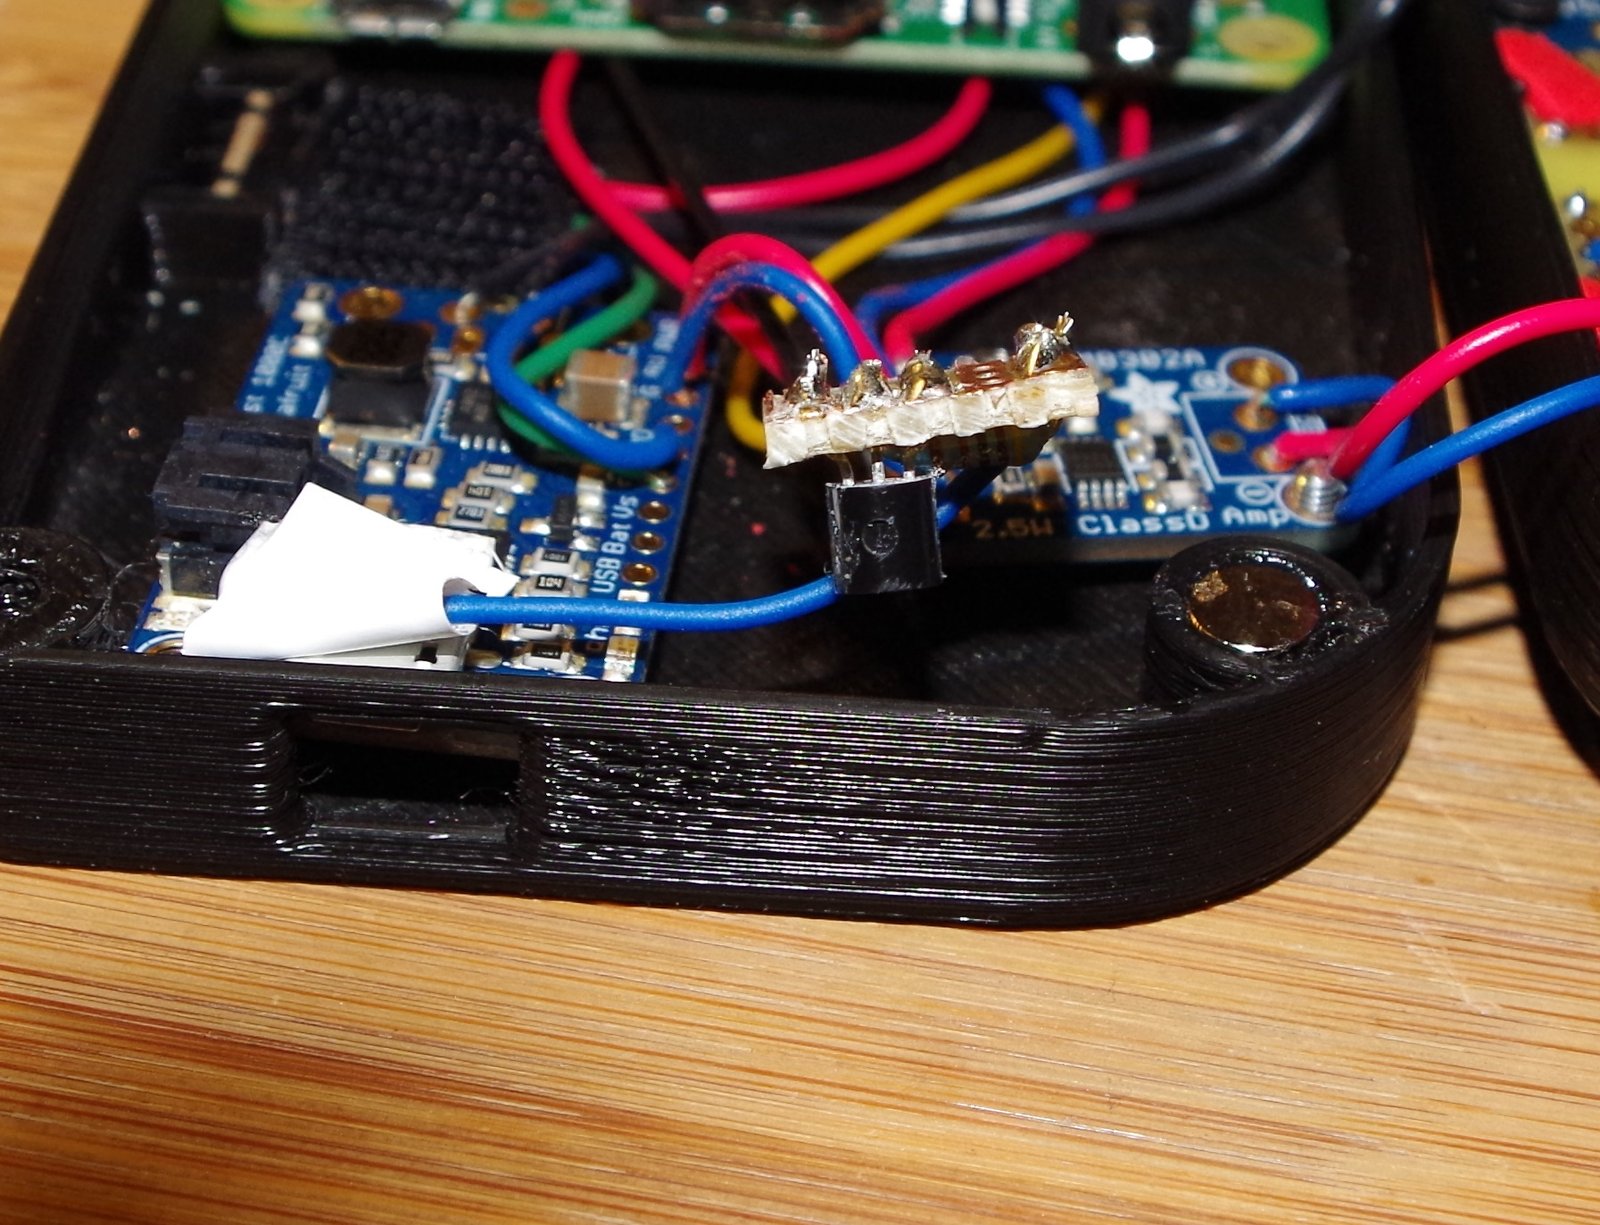
-
Stick the strip board to the case in-between the power booster and the amp with a bit of glue and put your PiGRRL back together.
-
Download the program from github.com/martinohanlon/grrl-bat-monitor
cd ~
git clone https://github.com/martinohanlon/grrl-bat-monitor
- Make the program run at boot by editing /etc/rc.local
sudo nano /etc/rc.local
Scroll down and add the command under ‘/usr/local/bin/retrogame &’ but before ‘exit 0’:
/home/pi/grrl-bat-monitor/grrl_bat_mon &
- Reboot and test!